Showing posts with label Photo Frames. Show all posts

DIY Photoframe with newspaper - Craft 9

A vibrant and unique photo frame by Anushya (12 yrs)


Materials required

Newspaper
Glue
Scissors
Scale
Pencil
Water colours or any paint
Brushes
Any thick cardpaper or cardboard


(For cardboard you can use those cartons in which we get some cereals/ oats/ biscuits/ health drinks/ detergent powders or old notebook front and back or Cardboards that come in certain new dress packing )

Cut one side of a newspaper into four long pieces. Roll them and stick the edges. If you find it difficult to roll, use a pencil/pen and roll. Once you stick the edges, you can remove the pencil and repeat for other rolls.  Attached video for help.


Now press the roll and tightly roll to get coils. Stick the edge and hold for a minute to dry so that it doesn't open. 


Number of rolls required depend on how big the coils are. First make a few, place it around a photo and keep adding as required. Paint them in colours of your choice. Let it dry while we prepare the frame.


Select the photo you want to keep in the frame and measure it. Usual size is 4 inch x 6 inch. If you are using bigger photo, measure it and make coils accordingly. 

Draw two rectangles in cardboard-size should be 1.5 inches more than the photo size in all sides. In one piece, mark 1 inches from all sides (inside) and cut out the inner rectangle. So, we have 2 cardboard pieces. One has a rectangle cut inside and another without cutting. Both cardboards of the same size - For 4 inch x 6 inch photo, the cardboard will be 5.5 inch width and 7.5 inch height. 


Start sticking the rolls on this piece which has inner rectangle cut. Let it dry well

Stick a transparent sheet of the same size to the back side of this piece. (If you don't have it now, you can skip this step).  Finally stick the two rectangles together in three sides (apply glue only for 1/2 inch area in 3 sides), leaving one side open to insert the photo. Allow it to dry well

Cut a rectangle piece in cardboard 2 inches width and 6 inches height and attach using glue or cellotape to the backside to get a stand for the frame.

Your photoframe is ready.


Shell photo frame


Materials required

Cardboard
Shells
Glitter tubes
Fevibond
Plastic sheet


Draw two rectangles in cardboard-size should be 1.5 inches more than the photo size in all sides. In one piece, mark 2 inches from all sides and cut out the inner rectangle. Use fevibond to stick shells in a random manner on this piece. Use glitter tubes to fill in the gaps. Let it dry well

Stick a transparent sheet of the same size to the back side of this piece. Finally stick the two rectangles together in three sides, leaving one side open to insert the photo. Allow it to dry well

Cut a rectangle piece in cardboard 2 inches width and 6 inches height and attach to the backside to get a stand for the frame.

CD Photo frame


Materials required

Old corrupted CD
Fevicol/glue
Colour sand or glitter powder
Sketch pen (the one used to write on CD)
Chart paper

Cut 2 rectangles measuring 2.5 inches X 2.25 inches. In one of it, draw another rectangle of measurement 3 cm X 4 cm and cut out the inner rectangle only from this piece. Stick three sides of the rectangles leaving one open to insert the passport size picture.

Stick this rectangle on the CD and decorate it with colour pen. Draw a design of your choice on the remaining part of the CD, apply fevicol over it and sprinkle coloured sand or glitter powder. After a minute invert the cd to remove the excess sand. Repeat till the design is done on all sides.

To make the frame stand, stick thermocol pieces in the back side to support it.


Sending it over to Mindful Meanderings blog event- Treasure from Trash


Photo frame


Materials required

Card paper
Glue
Colour sand
Cellotape
Thick plastic sheet

Cut two rectangle pieces in cardpaper of measurement 2" more than the size of a normal photo. Mark 1.5" on all sides of one piece of cardpaper and cut out the inner rectangle.

Draw the desired shape on the front piece. Apply glue and spread the coloured sand on a small portion. Invert and remove the excess sand. Repeat for each colour sand seperately. Allow it to dry. If required outline is to be given with fabric colours. Cover the sand with plastic sheet by sticking with cellotape on the backside.

Stick the thick plastic sheet to the backside of this piece as a cover for the photo. Now stick both the rectangle pieces together from 3 sides, leaving one side open to put the photograph. Use cellotape to bind the sides.

Finally attach a thick piece of cardpaper on the back side to give support to the photo frame to make it stand.

Photo frame


Materials required

Card paper
Glue
Colours
Thick plastic sheet

Cut the shape of an elephant on card paper. Also cut rectangle pieces in cardpaper of measurement 2" more than the size of a normal photo. Mark 1.5" on all sides of one piece of cardpaper and cut out the inner rectangle. Stick the thick plastic sheet to the backside of this piece. Now stick both the rectangle pieces together from 3 sides.

Stick this piece to the top portion of the elephant cutting as shown. Colour it with water colour. You can also use glitter or sequeins to decorate it.

Finally attach a thick piece of cardpaper on the back side to give support to the elephant to stand.

Elephant photoframe is ready..

Shama of My Handicrafts tagged me


1) What is your current obsession ?

Playing with my niece, cooking variety foods and checking out different cookery books

2) What are you wearing today ?

Salwar kameez

3) What’s for dinner?

Rice, sambar and curd

4) What’s the last thing you bought?

Two cookery books, one about chutneys and one about South Indian food

5) What are you listening to right now?

Movie songs

6) What do you think about the person who tagged you?

Shama is a very enthusiastic and creative person

7) If you could have a house totally paid for,fully furnished anywhere in the world, where would you like it to be?

Any unpolluted, clean and peaceful city

8) What are your must-have pieces for summer?

Cotton salwars and tops

9) If you could go anywhere in the world for the next hour,where would you go?

Too confused to reply

10) Which language do you want to learn?

Telugu and Punjabi

11) What’s your favourite quote?

Be happy and contented with what you have rather than cribbing about not having something

12) Who do you want to meet right now?

Am confused to name any one

13) What is your favourite colour?

Blue

14) What is your favourite piece of clothing in your own closet?

My jeans and tops

15) What is your dream job?

To be a cook book author

16) What’s your favourite magazine?

Nothing in particular

17) If you had $100 now, what would you spend it on?

Lots of crafts and cook books

18) What do you consider a fashion faux pas?

Wear clothes that are comfortable and can be carried easily

19) Who are your style icons?

None

20) Describe your personal style.?

Enjoy the clothing we wear

21) What are you going to do after this?

Go out to the temple

22) What are your favourite movies?

Baby's day out

23) What are three cosmetic/makeup/perfume products that you can't live without?

I dont use any cosmetics

24). What inspires you?

Handmade craft items

25) Give us three styling tips that always work for you:

Stay comfortable, Stay simple and not pay much attention to what others would comment

26) What do you do when you “have nothing to wear” (even though your closet’s packed)?

Wear anything that is easily available

27) Coffee or tea?

Boost

28) What do you do when you are feeling low or terribly depressed?

Get myself busy with some craft work or browse the net

29) Which other blogs you love visiting ?

All crafts and food blogs on my bloglist

30 ) What makes you feel fresh all through your day ?

I am very lazy person unless I have something interesting to do

31) What drives you to cook new recipes ?

My blog ofcourse

32) What have you been planning for long and expect to accomplish in the coming week

Its long since I did my last tanjore painting..waiting to start on another one this week

**The rules are: Respond and rework – answer the questions on your own blog, replace one question that you dislike with a question of your own invention, and add one more question of your own. Then tag eight or ten other people.
I am tagging

Veda, Gayathri, Deepa, Crafty shines and Soumya

Cloth photo frame


Materials required

Card paper
Glue
Foam
Cloth
Fabric glue
Thick plastic sheet

Cut two rectangle pieces in cardpaper of measurement 2" more than the size of a normal photo. Mark 1.5" on all sides of one piece of cardpaper and cut out the inner rectangle.

Apply fabric glue to this portion and attach the foam on the side as in the picture.


Now apply fabric glue again and stick the cloth neatly and fold the sides to the back side for neat finishing.Allow it to dry well.

Stick the other portion of the cardpaper to this portion from 3 sides leaving one side open. Dry well. If required use cellotape to bind it.

Finally attach a thick piece of cardpaper on the back side to give support to the photo frame to make it stand.

Simple decorative piece


Original idea from My Creations

Materials required

Greeting card
Card paper
Fevicol
Stones
Water colours

Cut small strip of card paper, paint with desired colour and stick it on the sides of the greeting card. Cut another piece in the card paper of the same size of greeting card. Colour this piece also and stick it to the greeting card crosswise as in the picture. Decorate with stones and attach a rectangle piece behind the picture to make it a stand for the picture.

Photo Frame


Materials Required

Black chart paper (thick type)
Thick transparent sheet
Gold colour paint
Kundans, Zardosi and other decorative items
Glue
Thick thermocol sheet

Place any photo on the chart paper and draw a outline. Draw another outline with an extra 1" gap.
Now cut three pieces of chart paper in this measurement. Three more pieces must be cut with an extra 1 1/2" outline.

In the pieces with 1" extra outline, measure 1 1/2" from all four sides and cut out the inner square.

Now, stick the thick transparent sheet to cover the cut area in all the three pieces.

Cut three pieces of thermocol of the same size and stick it to the above pieces on three sides, leaving the upper side open for inserting the photos.

Cover up the back side of the thermocol with the three pieces having extra 1 1/2" outline. All three pieces must be joined at an angle as shown in the finished photo frame.

Photo Frames


Materials Required

Handmade Paper
Glue
Scissors
Thin plastic sheet
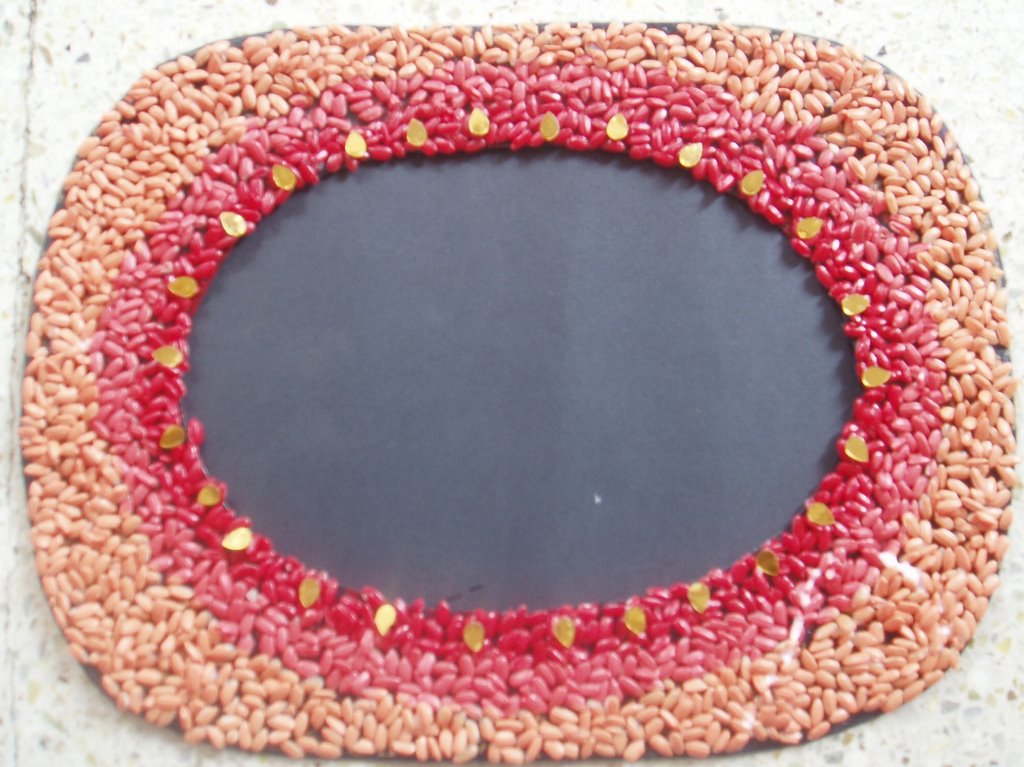
Embroidery Thread, Plastic mirrors or Rice or any other decorative items like sequeins etc

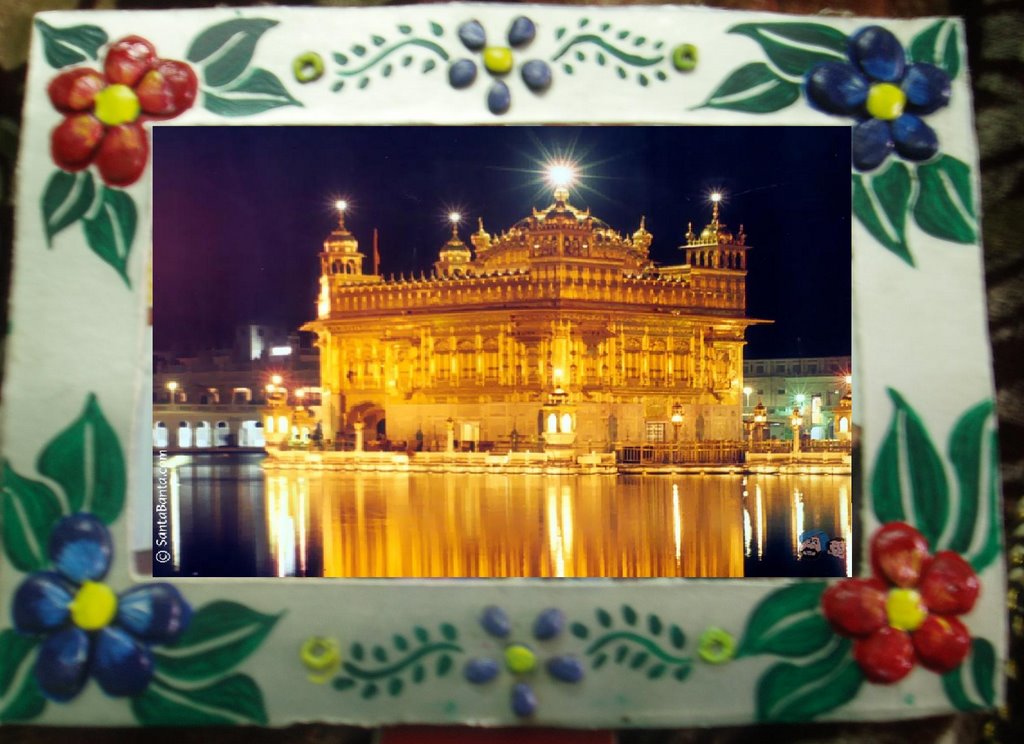
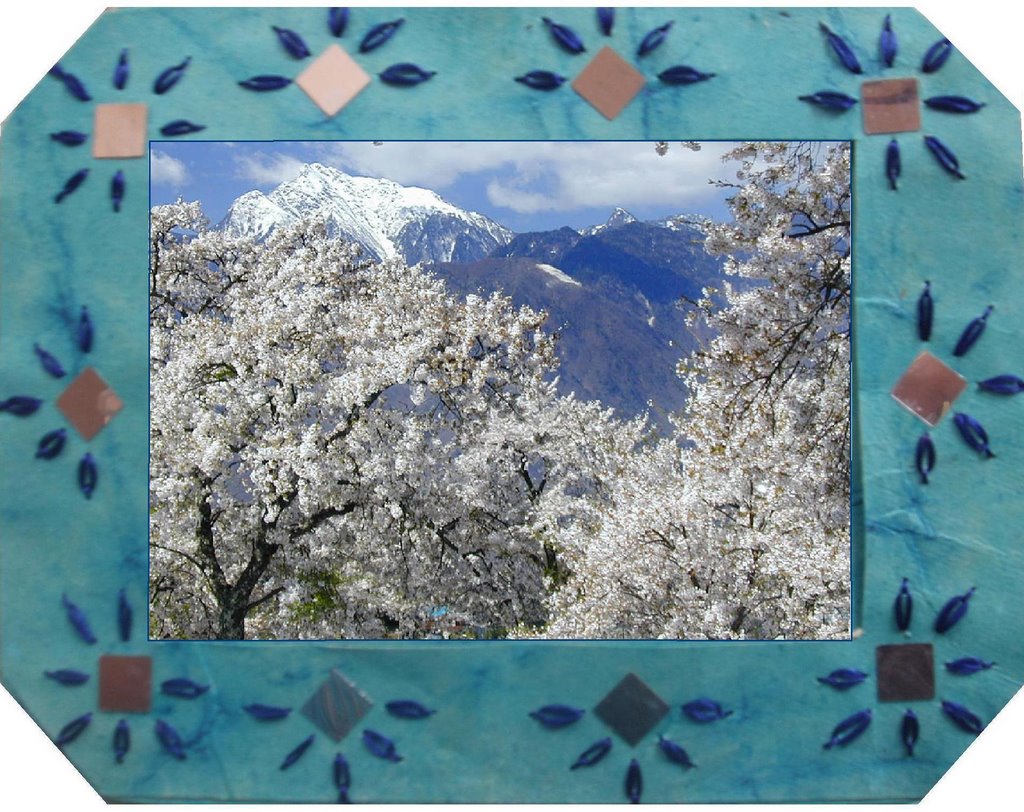
Firstly, cut from the handmade paper, two pieces of the desired shape for photo frames..it could be rectangle or any of the shapes as given in the photos.

For a 4” *6” snap, the frame must be of measurement 5.5” * 7.5”.

In one of the pieces, leave 2” from each side and cut out the centre portion.

Decorate the sides as desired. See figure below.


Stick the thin plastic sheet on the back side of this piece. Now stick the other piece with this piece for around ½” on ONLY three sides, leaving the fourth open.

Cut two small rectangle piece, stick them together and attach it to the frame from the back side to give support to the frame. Let it dry well.

Your photo frame is ready.

Greeting Card Embrodiery


Card Embroidery

Materials Required

Handmade Paper
Needle, Colour threads

Cut the handmade paper in the required size of greeting card or wall hanging.

Draw shapes like triangle, circle or any other shape as in the photos.

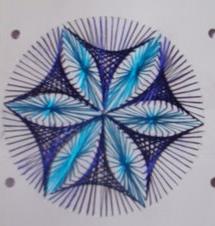
Start making holes using a needle in the lines at equal distance, with equal number of holes on each side in case of squares, triangles and rectangles. In case of circle, the number of holes must be in multiples of 2, 4 or 6 depending on the design required.

The following instructions are for a simple square design


Start from 1, pass the thread to 2. Bring the needle up again from 3 and insert the needle in 4, bring it up in 5 and insert in 6 and so on till u cover all four sides with each hole being pierced twice using thread.

You can use the same colour thread, or two colours for opposite directions as desired.

Finally stick some picture inside the gap or use it as a photo frame.

For a circle design, you have to first divide the total number of holes by 2/4/6 as desired and then start working on it.


Card Embrodiery Pattern

Affiliate of Ideas Money, Inspirations for Life, Easy Indian Food

Video tour

Google
Web easycrafts.blogspot.com
Related Posts Plugin for WordPress, Blogger...